Roof Replacement Tools - Professional Equipment for Johns Creek, GA
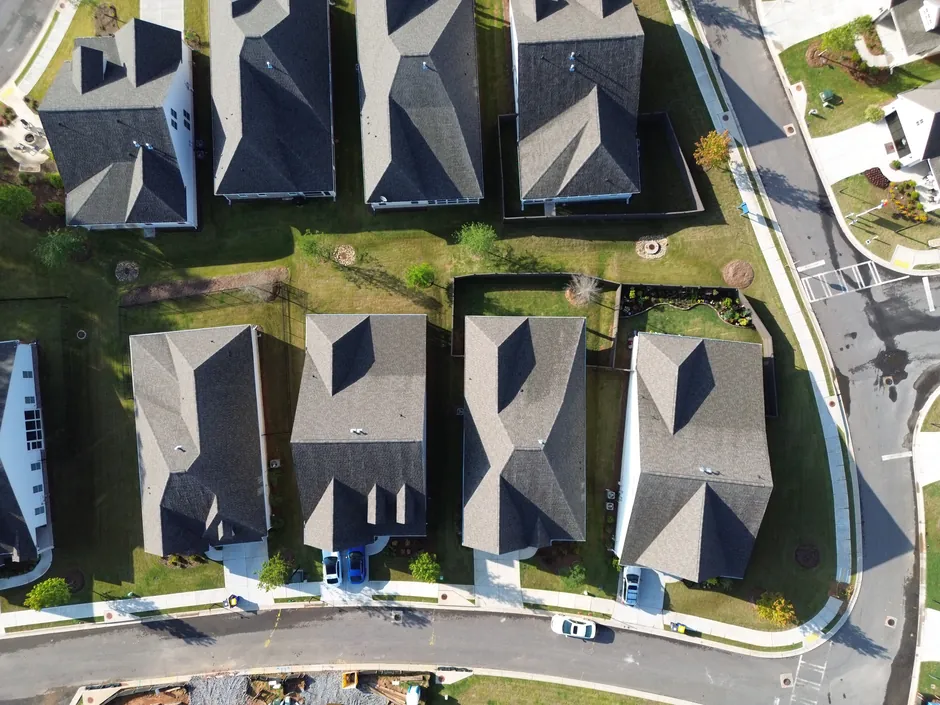
Complete roof replacement is the biggest maintenance project most Johns Creek homeowners will ever face -- stripping thousands of pounds of old shingles, inspecting and repairing the deck, and installing a new system designed to protect your family for the next 25-30 years. Fulton County's demanding climate along the Chattahoochee River corridor tests every aspect of a roofing installation, from summer heat that softens shingles during installation to winter freeze-thaw cycles that stress every fastener and seal. The right tools make this massive job manageable, consistent, and safe. From tear-off shovels that strip old materials without damaging decking to pneumatic nailers that drive thousands of fasteners at perfect depth, these professional-grade tools deliver results that match contractor quality on roofs across the Technology Park and Medlock Bridge areas.
🔨 Tear-Off & Removal Tools
Efficient tear-off sets the pace for the entire replacement project. Professional roofing shovels with serrated edges get under old shingles and pop nails in a single motion, stripping material in large sections instead of piece by piece. Flat pry bars handle tight areas around vents and edges where shovels cannot reach. For Johns Creek homes with multiple layers of old shingles baked on by Fulton County's summer heat, aggressive tear-off tools save hours of labor and protect the deck underneath.
| Picture | Product | Type | Key Features | Shop |
|---|---|---|---|---|
 |
Roof Tear-Off Shovel | Removal | Serrated edge, D-grip handle, Pops nails clean | Buy on Amazon |
 |
Flat Pry Bar Set | Prying | Multiple sizes, Hardened steel, Precision edges | Buy on Amazon |
 |
Roof Debris Chute | Disposal | Connects multiple sections, Directs into dumpster | Buy on Amazon |
💡 Pro Tip: Work cool mornings during Johns Creek summers -- Georgia heat softens asphalt shingles after 10 AM, making them sticky, prone to tearing, and harder to remove cleanly
Browse All: Roofing Tear-Off Tools on Amazon
🔫 Pneumatic Nailers & Fastening Systems
Hand-nailing an entire roof is impractical for anything beyond small repairs -- a full replacement requires thousands of perfectly driven fasteners across the entire roof surface. Pneumatic coil nailers are the professional standard, holding 120+ nails per load and driving each one flush at exactly the right depth. For Johns Creek's asphalt shingle roofs, you need nailers that handle 1" to 1-3/4" roofing nails. Pair them with a reliable compressor that maintains consistent pressure throughout long installation days, and always use galvanized or stainless nails to prevent rust in Georgia's humid climate.
| Picture | Product | Type | Key Features | Shop |
|---|---|---|---|---|
 |
Bostitch Coil Roofing Nailer | Pneumatic | 120-nail magazine, Adjustable depth, Lightweight | Buy on Amazon |
 |
Portable Air Compressor | Power | 6-gallon, Fast recovery, Quiet operation | Buy on Amazon |
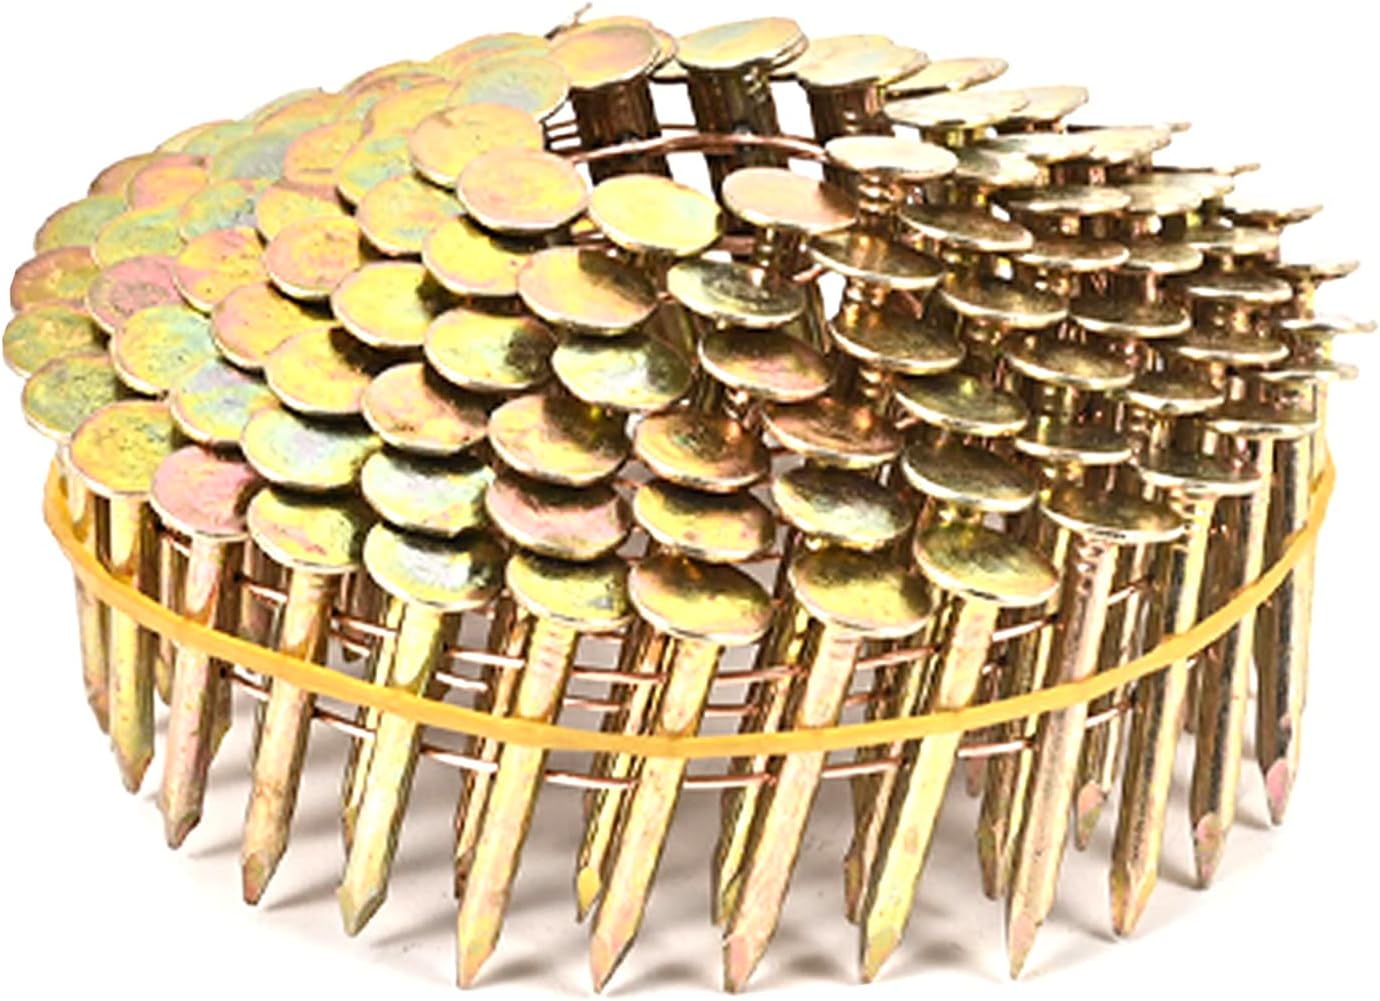 |
Galvanized Coil Roofing Nails | Fasteners | 1-1/4" length, Rust-resistant, Ring shank | Buy on Amazon |
 |
50-Foot Air Hose | Supply | Lightweight, Kink resistant, Quick connect | Buy on Amazon |
💡 Pro Tip: Test nailer depth on scrap material before starting -- nails driven too deep tear through shingles, while nails too shallow will not hold in Georgia wind storms
Browse All: Roofing Nailers on Amazon
📐 Layout & Cutting Tools
Straight courses and clean cuts separate professional installations from amateur ones -- and misaligned shingles are not just cosmetic problems, they create gaps where water infiltrates. A chalk line snapped across the deck provides reference lines that keep every course perfectly aligned from eave to ridge. Hook-blade utility knives cut shingles cleanly without slicing into underlayment, and aviation snips handle flashing and metal edging with precision cuts that shed water properly.
| Picture | Product | Type | Key Features | Shop |
|---|---|---|---|---|
 |
Chalk Line Reel | Layout | 100ft line, Refillable chalk, Fast rewind | Buy on Amazon |
 |
Roofing Utility Knife | Cutting | Hook blade, Quick change, Clean shingle cuts | Buy on Amazon |
 |
Aviation Tin Snips Set | Metal Cutting | Left, right, straight cuts, Color coded | Buy on Amazon |
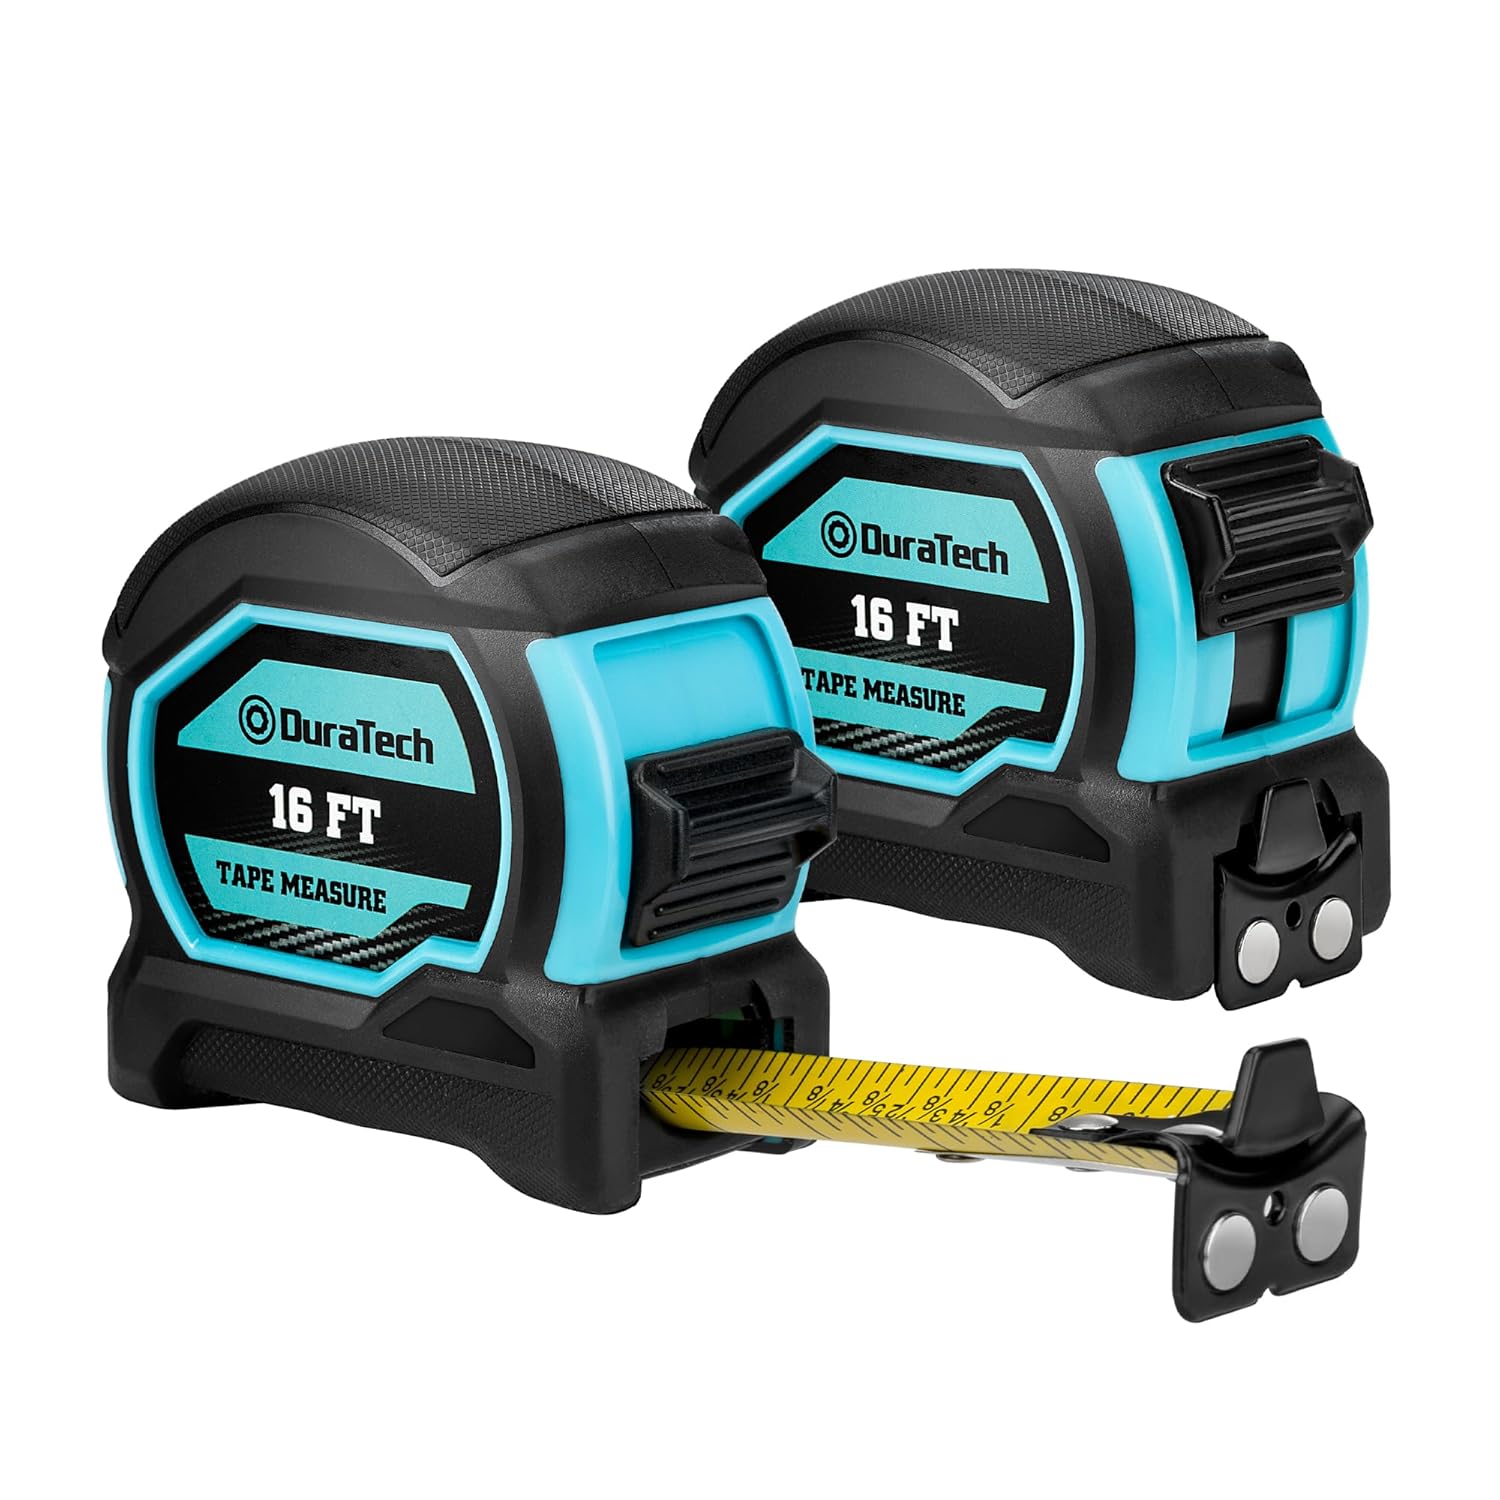 |
Magnetic Tape Measure 25ft | Measuring | Magnetic tip, Standout blade, Impact resistant | Buy on Amazon |
Browse All: Roofing Layout Tools on Amazon
⛑️ Safety & Fall Protection
Roof replacement involves days or weeks of sustained work at height -- making comprehensive fall protection absolutely essential, not optional. OSHA requires fall protection on any roof with a 6-foot or greater drop, and even experienced professionals fall. A quality harness distributes fall forces safely, while temporary roof anchors provide secure attachment points. Roofing shoes with specialized grip pads handle steep pitches and hot shingles that standard footwear cannot. In Johns Creek's summer heat, add cooling gear and hydration -- heat exhaustion on a roof can be fatal.
| Picture | Product | Type | Key Features | Shop |
|---|---|---|---|---|
 |
Complete Roofing Harness Kit | Fall Protection | Harness, lanyard, anchor, OSHA compliant | Buy on Amazon |
 |
Cougar Paws Roofing Shoes | Footwear | Replaceable pads, Extreme grip, Steep pitch rated | Buy on Amazon |
 |
Adjustable Roof Jacks | Work Platform | Adjustable pitch, Holds scaffold plank, Steel | Buy on Amazon |
 |
Evaporative Cooling Vest | Heat Protection | Soaks and cools, Lightweight, Lasts hours | Buy on Amazon |
💡 Safety First: Never work on a wet roof -- asphalt shingles become extremely slippery. Wait until surfaces are completely dry.
Browse All: Roofing Safety Equipment on Amazon
🧹 Cleanup & Nail Collection
Post-installation cleanup is not optional -- loose roofing nails puncture tires, injure bare feet, and create liability issues for months after the job is done. Magnetic sweepers roll across lawns, driveways, and walkways collecting every metal fastener invisible in grass. Shop vacuums clean granule debris from gutters and walkways. For complete replacement projects in Johns Creek's residential neighborhoods near State Bridge Road and Medlock Bridge, thorough cleanup is as important as the installation itself.
| Picture | Product | Type | Key Features | Shop |
|---|---|---|---|---|
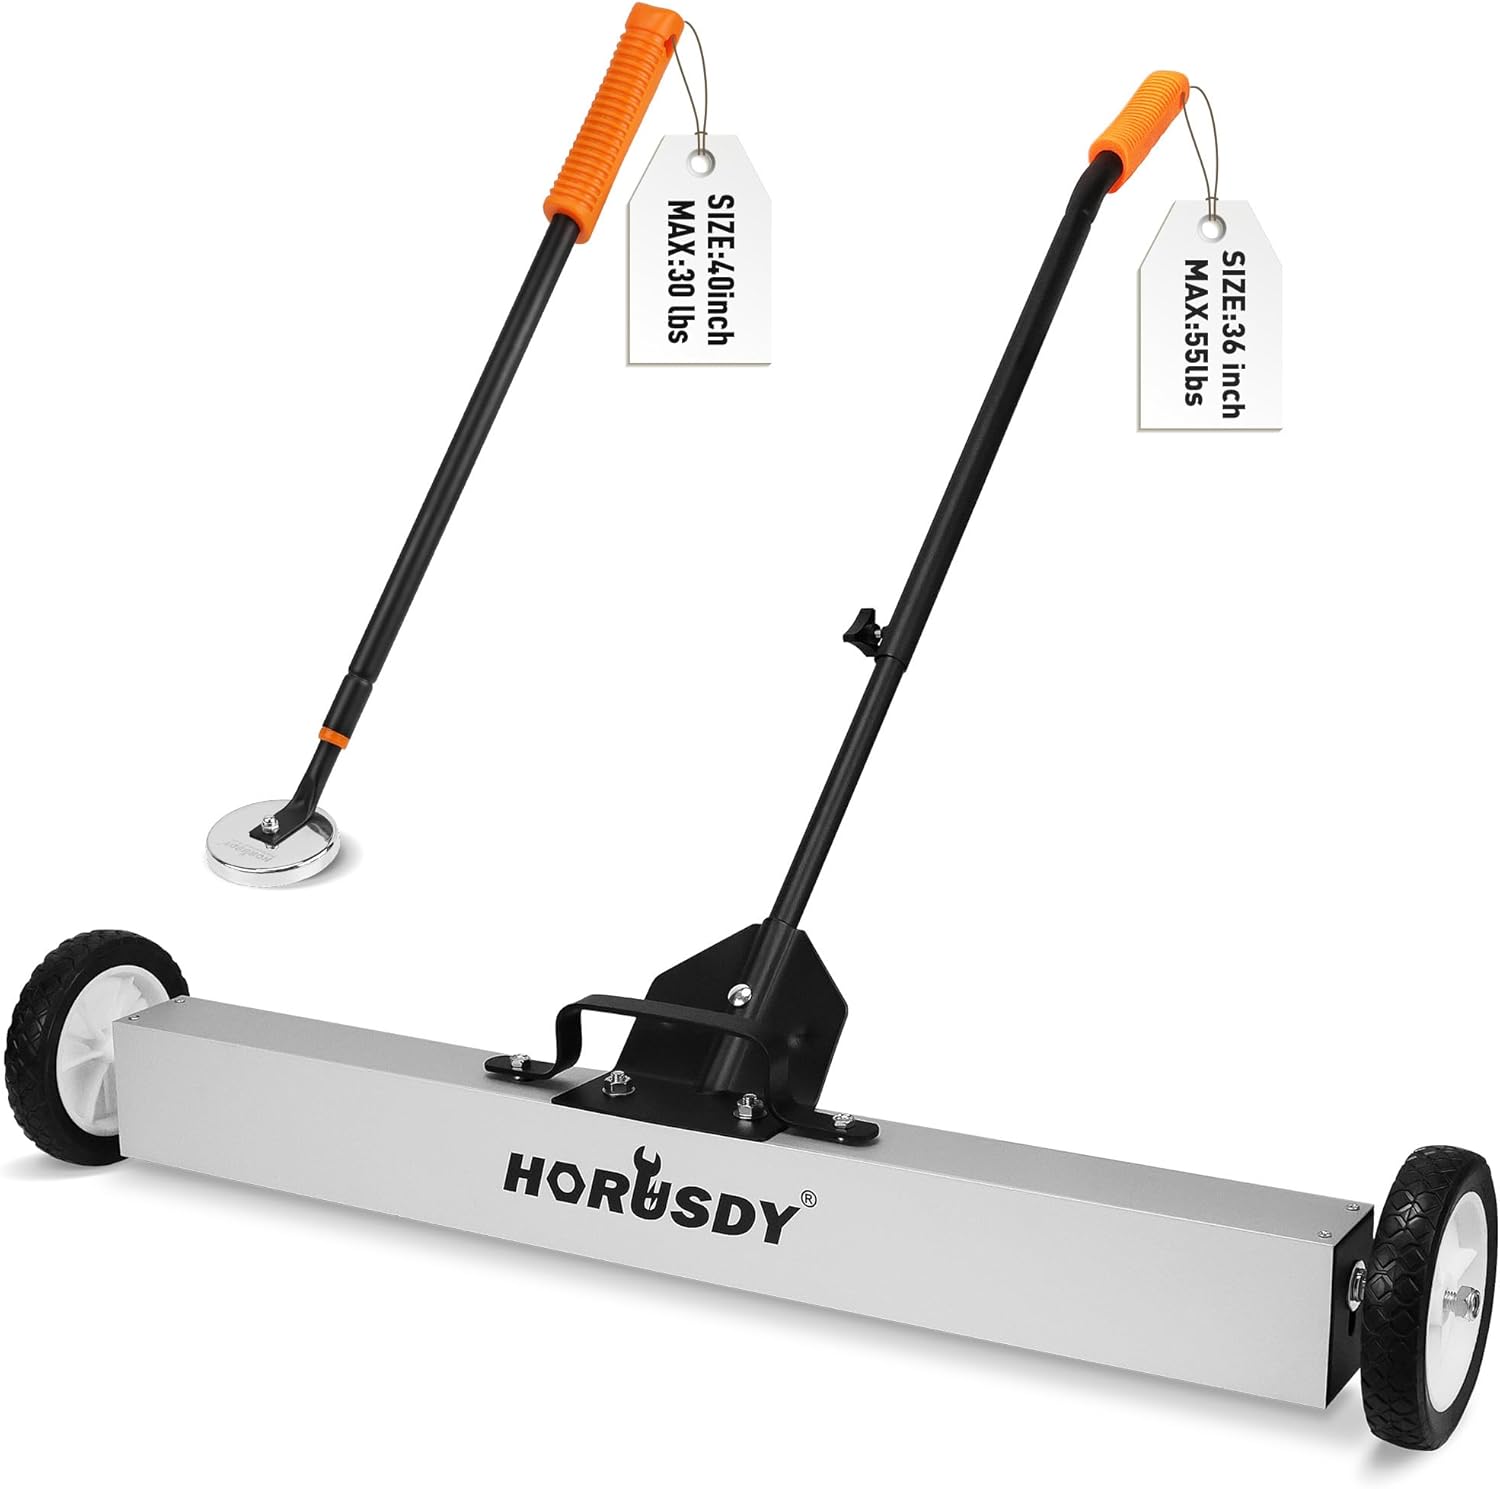 |
Rolling Magnetic Sweeper | Nail Pickup | 24" width, Release lever, Collects roofing nails | Buy on Amazon |
|
Shop Vac with HEPA Filter | Cleanup | Wet/dry, Fine particle filter, Gutter cleaning | Buy on Amazon |
 |
Heavy Duty Push Broom | Sweeping | Stiff bristles, Wide head, Clears debris fast | Buy on Amazon |
💡 Pro Tip: Run the magnetic sweeper over the entire yard and driveway at least three times in different patterns -- nails hide in grass and cause flat tires for months after roof work
Browse All: Roofing Cleanup Tools on Amazon
❓ Frequently Asked Questions - Roof Replacement
Get the Right Tools for Roof Replacement
Ready to tackle a complete roof replacement? Browse our recommended professional-grade tools including tear-off shovels, pneumatic nailers, safety systems, and finishing equipment. All products selected for the sustained, heavy-duty demands of full re-roofing projects.