Roof Inspection Tools - Professional Diagnostic Equipment
When loose granules, hairline cracks, or mysterious attic stains raise alarms, the right roof inspection tools make all the difference. From thermal cameras that reveal hidden moisture to drones that safely capture aerial views, proper inspection equipment helps identify problems before they become expensive repairs. Whether you're a homeowner evaluating storm damage near the Chattahoochee River or preparing for a real estate transaction along State Bridge Road, these professional-grade tools provide the diagnostic capability you need for Johns Creek's demanding Fulton County climate.

🔍 Thermal Imaging Cameras
Thermal cameras reveal what the naked eye can't see - moisture intrusion, insulation gaps, and heat loss patterns. Water-damaged areas show distinct temperature differences from dry roofing materials. For Johns Creek homes dealing with North Fulton County's humid climate and powerful afternoon thunderstorms, thermal imaging helps catch leaks before they cause major damage.
| Picture | Product | Type | Key Features | Shop |
|---|---|---|---|---|
 |
FLIR ONE Pro Thermal Camera | Smartphone attachment | High resolution, MSX imaging, App compatible | Buy on Amazon |
 |
Seek Thermal CompactPRO | Smartphone attachment | Wide field of view, High sensitivity, Portable | Buy on Amazon |
 |
Handheld Thermal Imager | Standalone | Built-in display, Image storage, Temperature readings | Buy on Amazon |
💡 Pro Tip: For best results, conduct thermal scans during temperature differentials - early morning or evening when roof surfaces cool at different rates based on moisture content.
Browse All: Thermal Cameras on Amazon
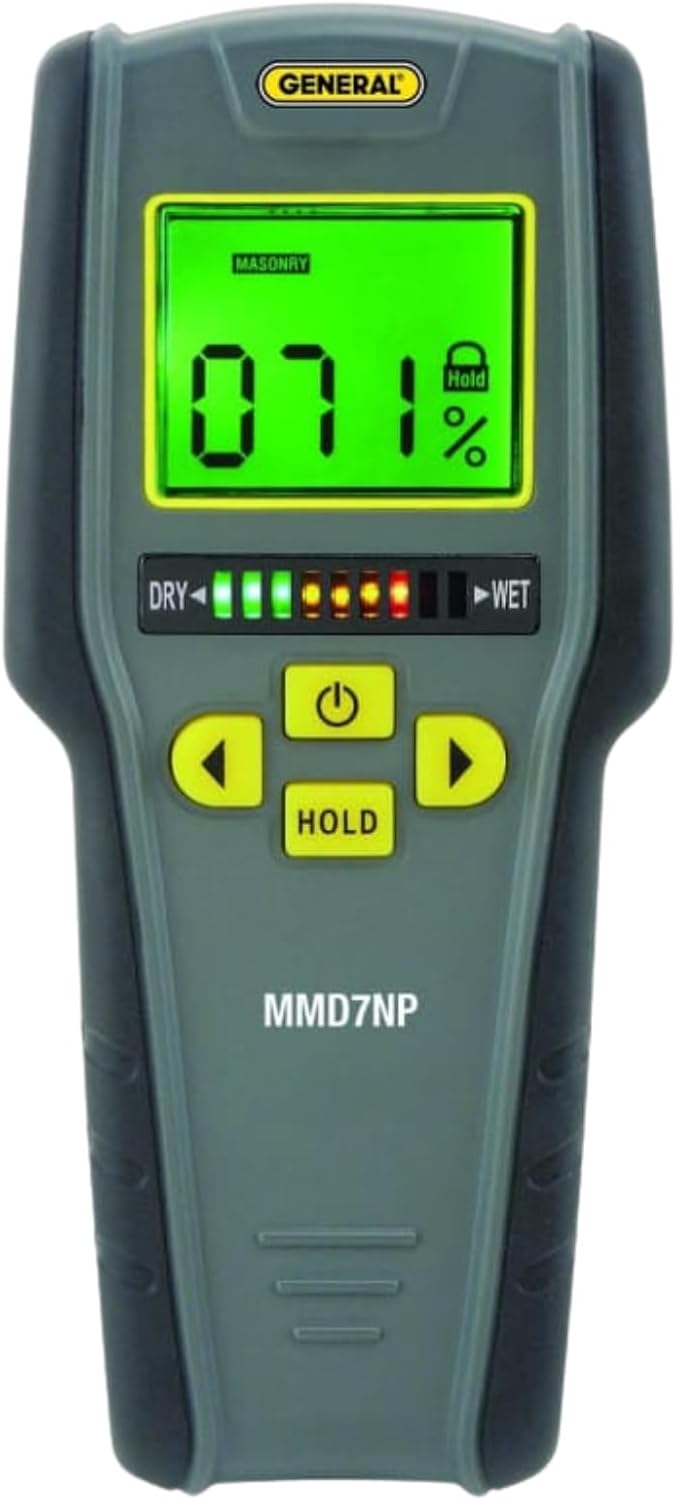
💧 Moisture Detection Tools
Moisture meters and probes provide quantitative data about water intrusion in roofing materials, decking, and insulation. Pin-type meters measure moisture content in wood decking, while pinless models scan larger areas without damaging surfaces. Essential for documenting water damage for insurance claims and verifying repairs.
| Picture | Product | Type | Key Features | Shop |
|---|---|---|---|---|
 |
Digital Pin Moisture Meter | Pin-type | LCD display, Wood/building modes, Accurate readings | Buy on Amazon |
 |
Pinless Moisture Scanner | Non-invasive | Scans through surfaces, No damage, Wide coverage | Buy on Amazon |
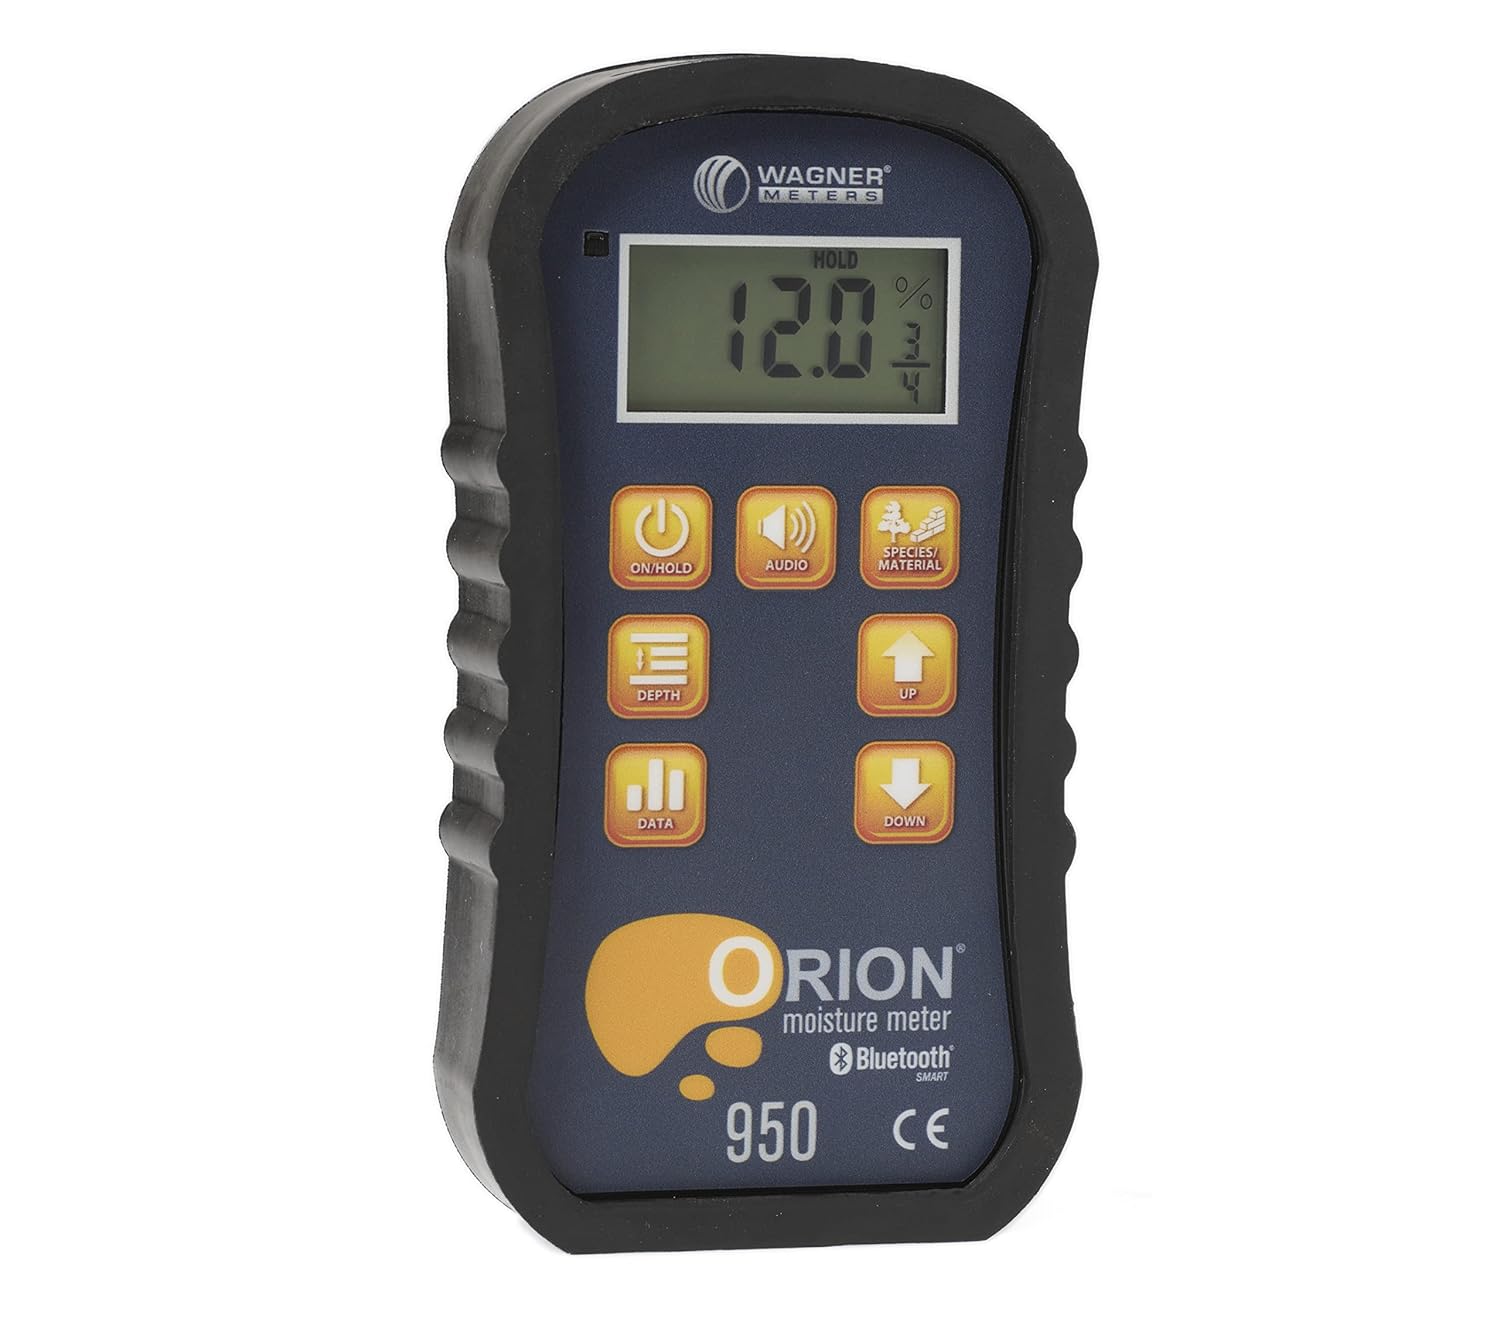 |
Professional Moisture Meter | Dual mode | Pin and pinless, Data logging, Calibration check | Buy on Amazon |
💡 Pro Tip: Normal wood moisture content is 6-12%. Readings above 20% indicate active moisture problems requiring immediate attention.
Browse All: Moisture Meters on Amazon
🚁 Inspection Drones
Drones provide safe, comprehensive roof views without ladder climbing. High-resolution cameras capture shingle condition, flashing details, and damage patterns. For steep-slope roofs common in Johns Creek's upscale neighborhoods along the Chattahoochee corridor, drone inspection eliminates fall risk while providing better documentation than ground-level observation.
| Picture | Product | Type | Key Features | Shop |
|---|---|---|---|---|
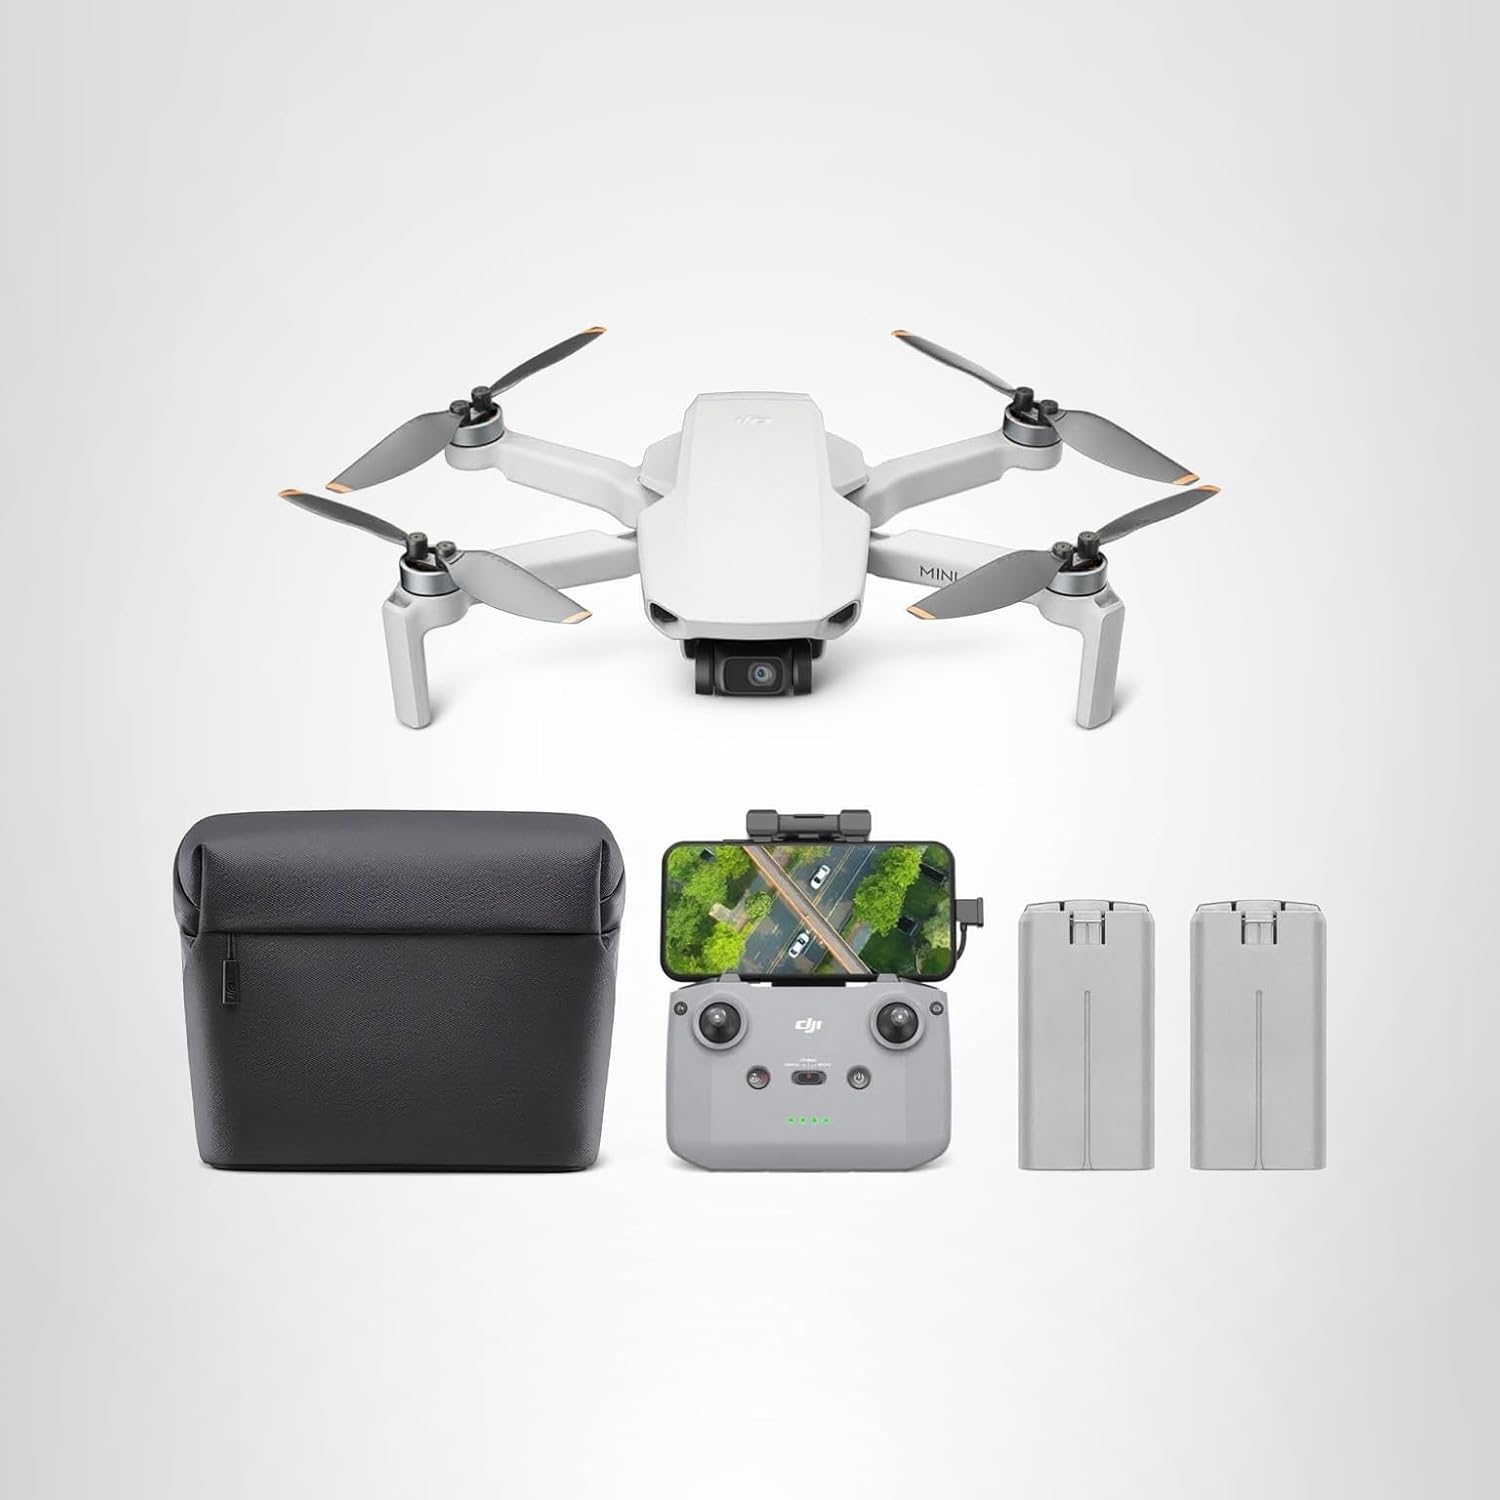 |
DJI Mini Series Drone | Compact | 4K camera, GPS, Under 250g, Easy operation | Buy on Amazon |
 |
4K Inspection Drone | Standard | Stable hover, Long flight time, Photo/video | Buy on Amazon |
 |
Drone Landing Pad | Accessory | Protects drone, Visible target, Foldable | Buy on Amazon |
💡 Pro Tip: Check FAA regulations and local HOA rules before flying. Most residential inspections fall under recreational drone guidelines when conducted on your own property.
Browse All: Inspection Drones on Amazon
🔭 Visual Inspection Tools
Quality optics help evaluate roof condition from the ground before climbing. Binoculars reveal shingle granule loss, flashing separation, and vent damage without ladder setup. Inspection mirrors and cameras access tight spaces in attics and soffits where water intrusion often begins.
| Picture | Product | Type | Key Features | Shop |
|---|---|---|---|---|
 |
Compact Roof Binoculars | Optical | 10x magnification, Wide field, Lightweight | Buy on Amazon |
 |
Telescoping Pole Camera | Extendable | WiFi enabled, LED lights, Reaches 15+ feet | Buy on Amazon |
 |
Borescope Inspection Camera | Flexible probe | Waterproof, Phone display, Tight space access | Buy on Amazon |
Browse All: Inspection Cameras on Amazon
🦺 Safety Equipment
Roof inspections require proper fall protection, especially on steep slopes. OSHA-compliant harnesses, roof anchors, and non-slip footwear protect against the leading cause of construction fatalities. Quality safety gear is non-negotiable for any roof-level work.
| Picture | Product | Type | Key Features | Shop |
|---|---|---|---|---|
 |
Roofing Safety Harness Kit | Complete kit | Harness, lanyard, anchor, OSHA compliant | Buy on Amazon |
 |
Temporary Roof Anchor | Anchor point | Reusable, Easy install, 5000 lb rating | Buy on Amazon |
 |
Ladder Stabilizer/Standoff | Ladder accessory | Prevents gutter damage, Wider stance, Safer climb | Buy on Amazon |
💡 Pro Tip: Always have a spotter when working on roofs. Wear soft-soled shoes with good traction, and avoid roof work when surfaces are wet, frosty, or temperatures exceed 90°F when shingles soften.
Browse All: Roofing Safety Gear on Amazon
❓ Frequently Asked Questions - Roof Inspection
Professional Roof Inspection Solutions
Need to evaluate your roof's condition? Browse our recommended professional-grade inspection tools, cameras, and safety equipment.