Chimney Repair Tools - Maintenance & Repair Equipment
From sweltering summer heat to sharp winter temperature drops along the Chattahoochee River corridor, Johns Creek chimneys face relentless microclimate stress. Combine heavy pollen seasons, wildlife activity near Medlock Bridge, and regular fireplace use in Technology Park and State Bridge Road neighborhoods - and chimney issues become costly if overlooked. Whether you're preparing for fall fireplace season or protecting against spring storm damage in Fulton County, these professional-grade chimney repair tools help you maintain your fireplace system safely and effectively.
🧹 Chimney Sweep & Cleaning Kits
Regular chimney cleaning prevents dangerous creosote buildup that causes chimney fires. Modern sweep kits attach to power drills for easier cleaning from below, eliminating the need to climb on the roof. Flexible rods navigate flue bends while brushes match your liner type and size.
| Picture | Product | Type | Key Features | Shop |
|---|---|---|---|---|
 |
Drill-Driven Chimney Sweep Kit | Power | Flexible rods, Multiple brushes, 15-25ft reach | Buy on Amazon |
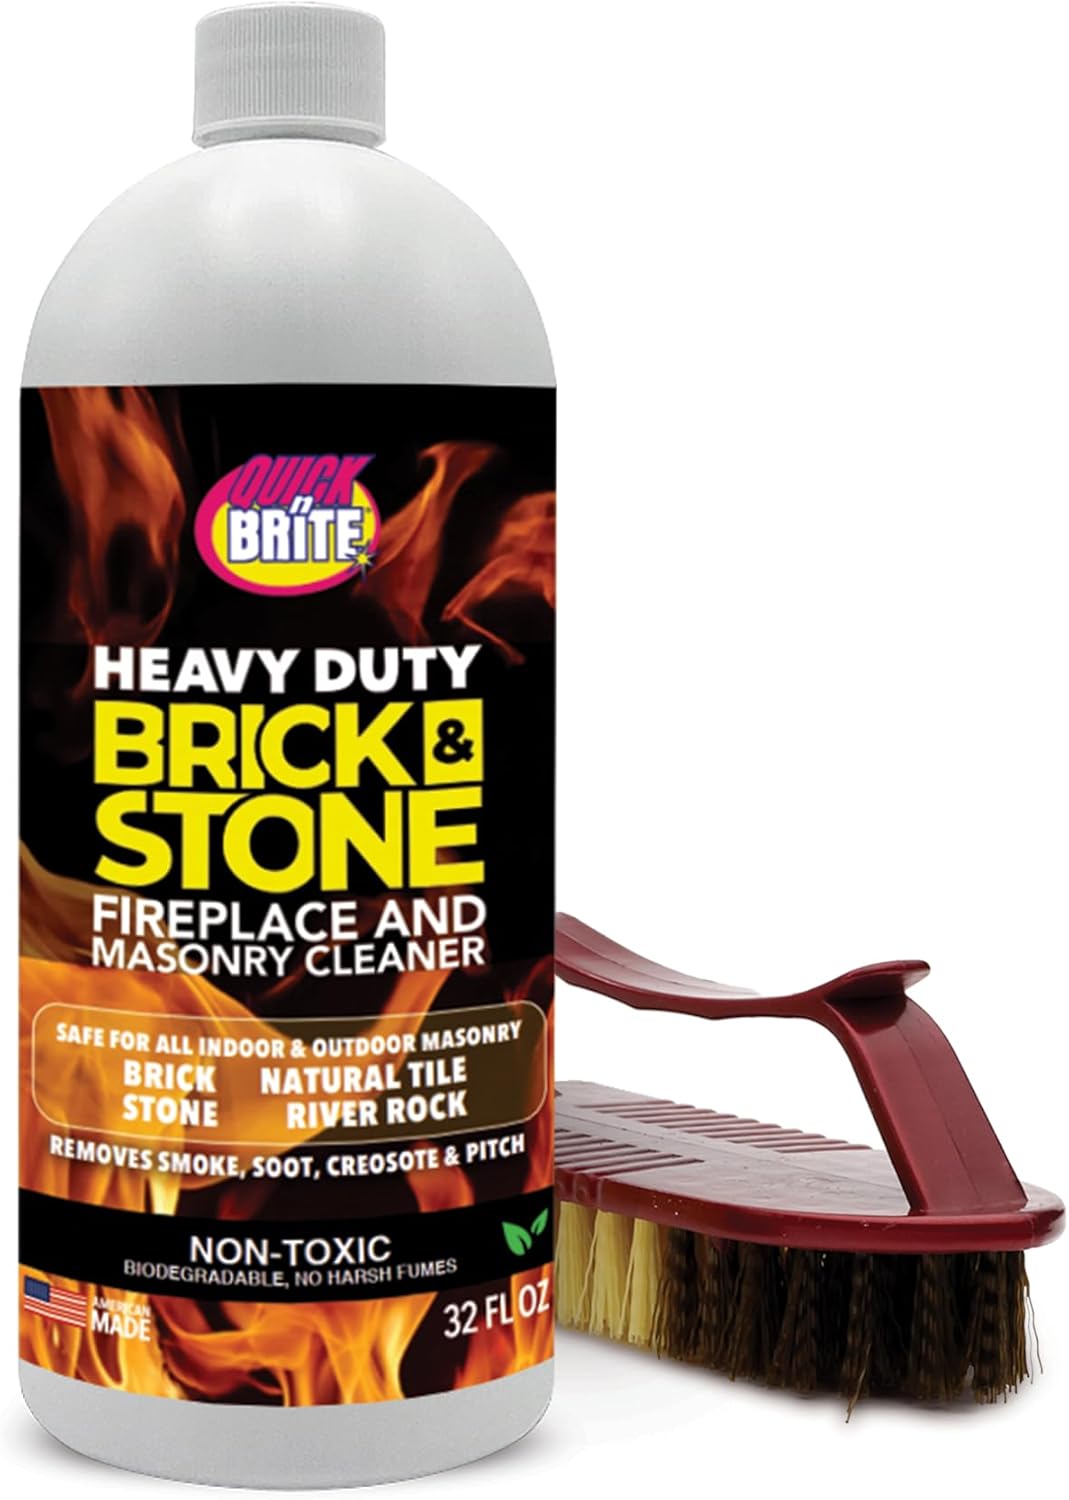 |
Liquid Creosote Remover | Chemical | Breaks down buildup, Spray application | Buy on Amazon |
 |
Wire Chimney Brush | Manual | For clay/masonry liners, Various sizes | Buy on Amazon |
💡 Pro Tip: Clean chimneys after every cord of wood burned, or at minimum annually before heating season. Spray creosote remover 24-48 hours before brushing for easier removal.
Browse All: Chimney Sweep Kits on Amazon
🏠 Crown & Cap Repair
The chimney crown and cap are your first defense against water intrusion. Cracks in the concrete crown allow water to penetrate, causing freeze-thaw damage to masonry below. Damaged or missing caps let rain, animals, and debris into the flue. Quality sealants and replacement caps prevent costly repairs.
| Picture | Product | Type | Key Features | Shop |
|---|---|---|---|---|
 |
CrownCoat Flexible Sealant | Coating | Bridges cracks, Waterproof, UV resistant | Buy on Amazon |
 |
Stainless Steel Chimney Cap | Protection | Spark arrester, Animal guard, Multiple sizes | Buy on Amazon |
 |
Masonry Water Repellent | Sealant | Breathable, Prevents absorption, Long lasting | Buy on Amazon |
💡 Pro Tip: Apply crown sealant on a dry day when temperatures are above 50°F. Two thin coats provide better coverage than one thick coat.
Browse All: Chimney Caps on Amazon
🔥 Firebox & Mortar Repair
Cracks in firebox mortar and firebrick create safety hazards - smoke and carbon monoxide can leak into living spaces. Heat-rated mortar repairs these gaps and withstands temperatures above 2000°F. Regular inspection and prompt repair maintain both safety and efficiency.
| Picture | Product | Type | Key Features | Shop |
|---|---|---|---|---|
 |
High-Temp Fireplace Mortar | Repair | 2000°F+ rated, Fire-cures, Caulk tube | Buy on Amazon |
 |
Replacement Firebrick | Material | Standard sizes, Heat resistant, DIY friendly | Buy on Amazon |
 |
Damper Repair Kit | Hardware | Replacement parts, Handle, Clamps | Buy on Amazon |
💡 Pro Tip: Fireplace mortar cures when heated. Apply repairs, let dry 24 hours, then build a small fire to complete the cure. Avoid large fires until mortar is fully cured.
Browse All: Fireplace Repair on Amazon
💧 Flashing & Leak Repair
Chimney flashing seals the joint between chimney masonry and roofing - one of the most common leak sources on any roof. Step flashing along the sides, counter flashing embedded in mortar joints, and cricket diverters behind the chimney work together to shed water. Quality sealants repair minor failures.
| Picture | Product | Type | Key Features | Shop |
|---|---|---|---|---|
 |
Elastomeric Flashing Sealant | Sealant | Flexible, UV resistant, Permanent | Buy on Amazon |
 |
Self-Adhering Flashing Tape | Repair | Conforms to masonry, Waterproof, Easy apply | Buy on Amazon |
 |
Aluminum Step Flashing | Material | Pre-bent, Corrosion resistant, 50 pack | Buy on Amazon |
Browse All: Chimney Flashing on Amazon
🛡️ Safety & Inspection Equipment
Chimney work requires proper safety equipment for both roof access and fire hazards. Inspection cameras help evaluate flue condition without climbing. Carbon monoxide detectors alert to dangerous combustion issues. Proper preparation prevents accidents and ensures thorough work.
| Picture | Product | Type | Key Features | Shop |
|---|---|---|---|---|
 |
Chimney Inspection Camera | Diagnostic | Flexible probe, LED light, Phone display | Buy on Amazon |
 |
Carbon Monoxide Detector | Safety | Digital display, Battery backup, Loud alarm | Buy on Amazon |
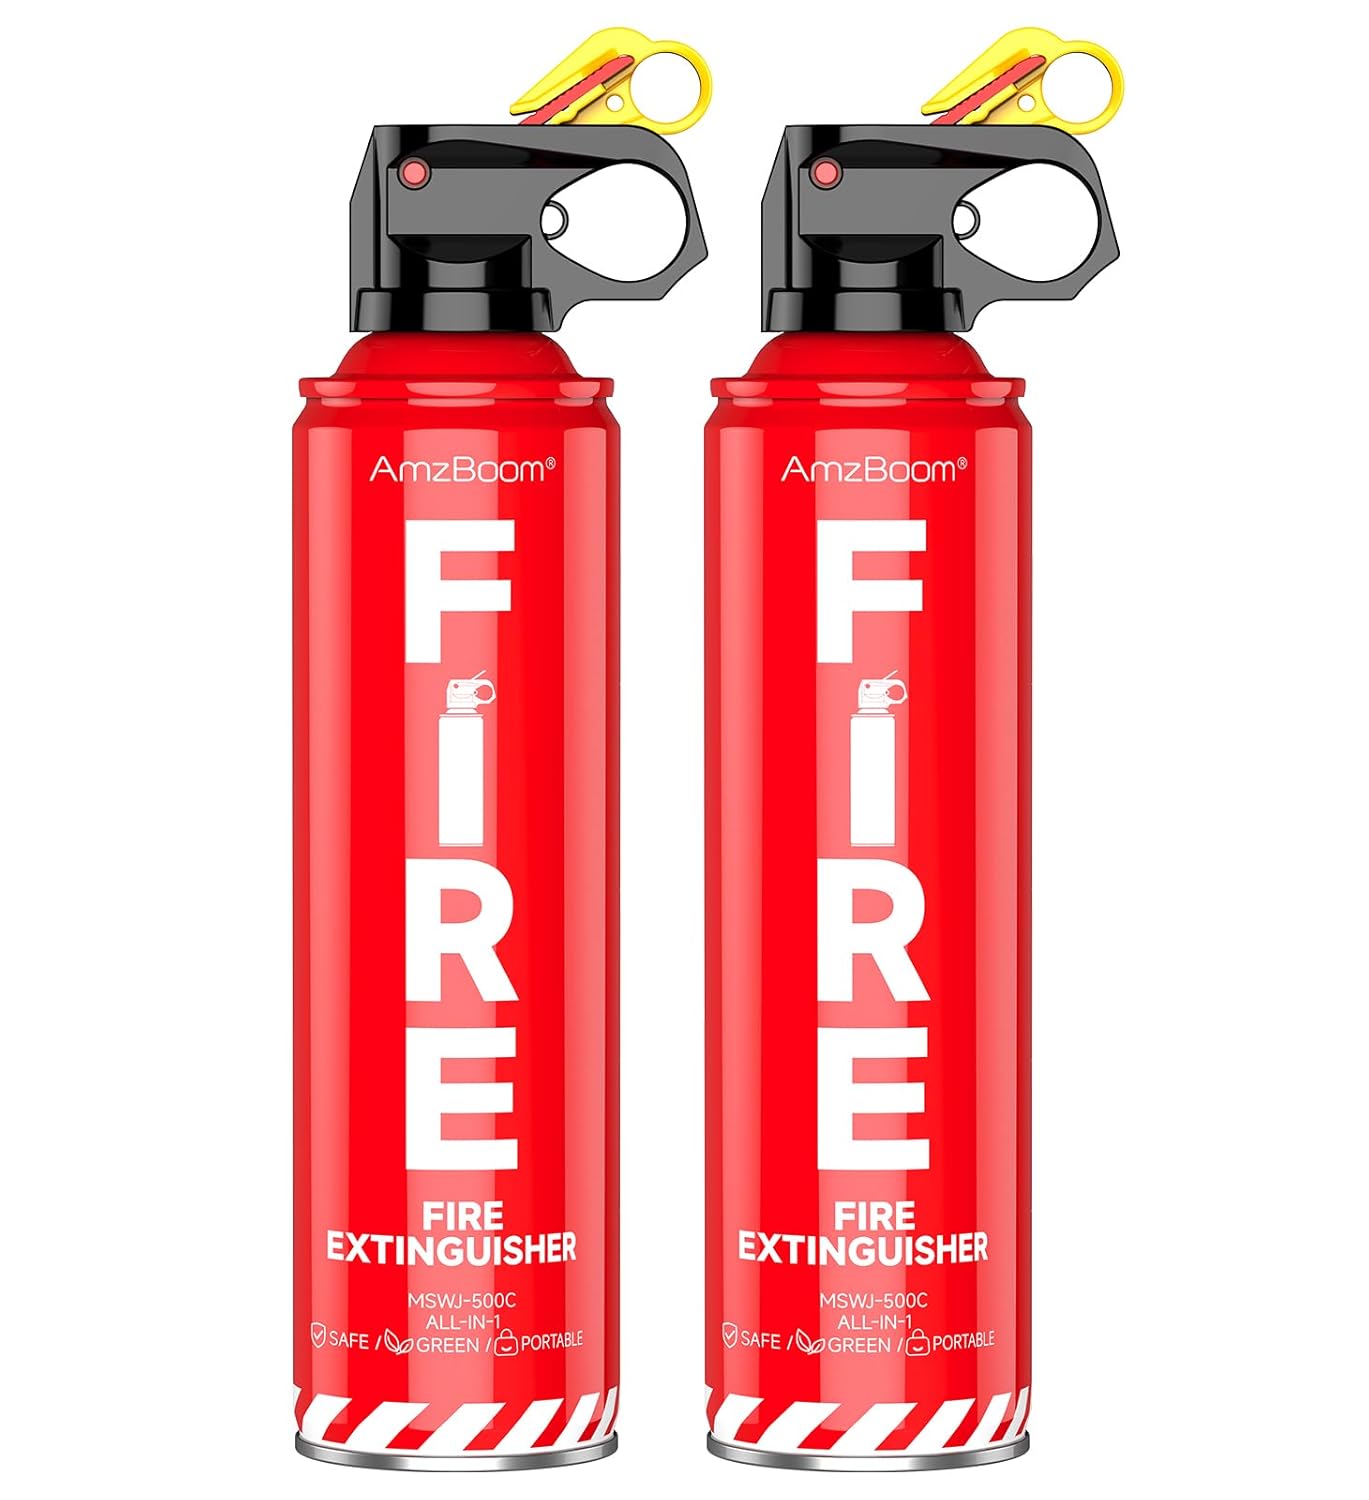 |
Fire Extinguisher | Safety | ABC rated, Easy access, Rechargeable | Buy on Amazon |
Browse All: Chimney Safety Equipment on Amazon
❓ Frequently Asked Questions - Chimney Repair
Professional Chimney Maintenance Solutions
Need to maintain or repair your chimney? Browse our recommended sweep kits, sealants, and chimney maintenance supplies.